Pokemon Pure & Corrupt Wild Pokemon Locations
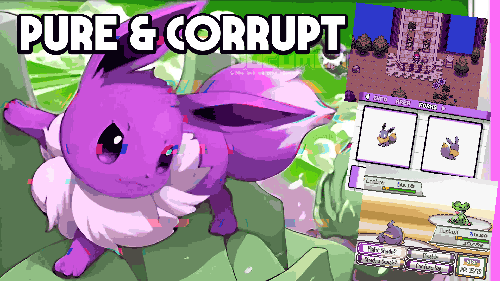
Pokemon Pure & Corrupt is a Fan-made Game by kingdomharms. In this game, You can have a story about Glitched Pokemon, Pokemon up to gen 9, new story, new region, bird type,… Pokemon Pure & Corrupt Wild Pokemon Locations will list all information about Wild Pokemon Locations in Pokemon Pure & Corrupt v0.4.1b. All Wild Pokemon Locations bellow Location Pokémon Available Path Exclusive? Twilight Woods Caterpie – 50%Scatterbug – 50% No First Avenue Rattata – 30%Taillow – 30%Sentret – 20%Starly – 20% No Second Avenue Pidgey – 45%Sunkern – 35%Pansage – 20% No Plutonian Mines Rolycoly – 45%Nacli – 45%Elgyem