Pokemon Crystal Clear Walkthrough
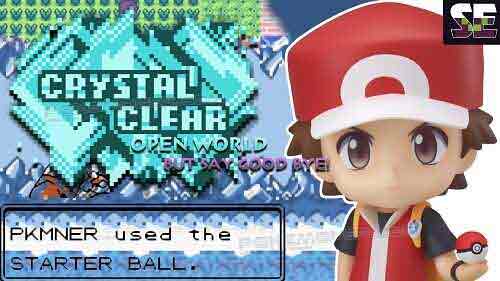
Pokemon Crystal Clear is an expansive, open-world Gen II romhack, developed by ShockSlayer. Gen II as you’ve always known it, but like you’ve never played before. Pick your starter, your region, customize your character, and then do whatever you want. You can collect all 16 badges, catch all 251, take on the new E4, re-challenge gyms, visit new places… There’s a lot of things to do, and a lot of ways to do them. Pokemon Crystal Clear Walkthrough will help you if you need a walkthrough of this game. It’s working in version 2.5.5. Pokemon Crystal Clear v2.5.5 Walkthrough [nbt]